Alaska, the last frontier of the United States, is renowned not just for its rugged, majestic beauty but also as an ideal destination to witness one of the planet’s most awe-inspiring natural phenomena: the Aurora Borealis. The magical spectacle of light ribbons dancing across the nighttime Alaska sky attracts millions of visitors and photographers worldwide. If you dream of documenting these unforgettable moments, this article from Travel the World will share a complete set of tips for photographing the Aurora Borealis in Alaska, helping you prepare best for your memorable photo-hunting journey.
1. Why is Alaska a Photographer’s Paradise for the Northern Lights?
Alaska boasts a prime geographical location directly under the auroral oval, where this phenomenon occurs most vividly and frequently. Additionally, Alaska offers several advantages that make it a paradise for photographers hunting for the Northern Lights:
- Geographical Position: Located at a high latitude, Alaska features many areas in the auroral zone, especially around Fairbanks and Denali, known as the “aurora capitals” of the world.
- Ideal Weather: Alaska’s winter often features clear skies with little cloud cover, providing perfect conditions for observing and photographing the Northern Lights.
- Advanced Tourism Infrastructure: Alaska offers a range of hotels, tours, and professional aurora photography services that cater to every tourist’s needs.
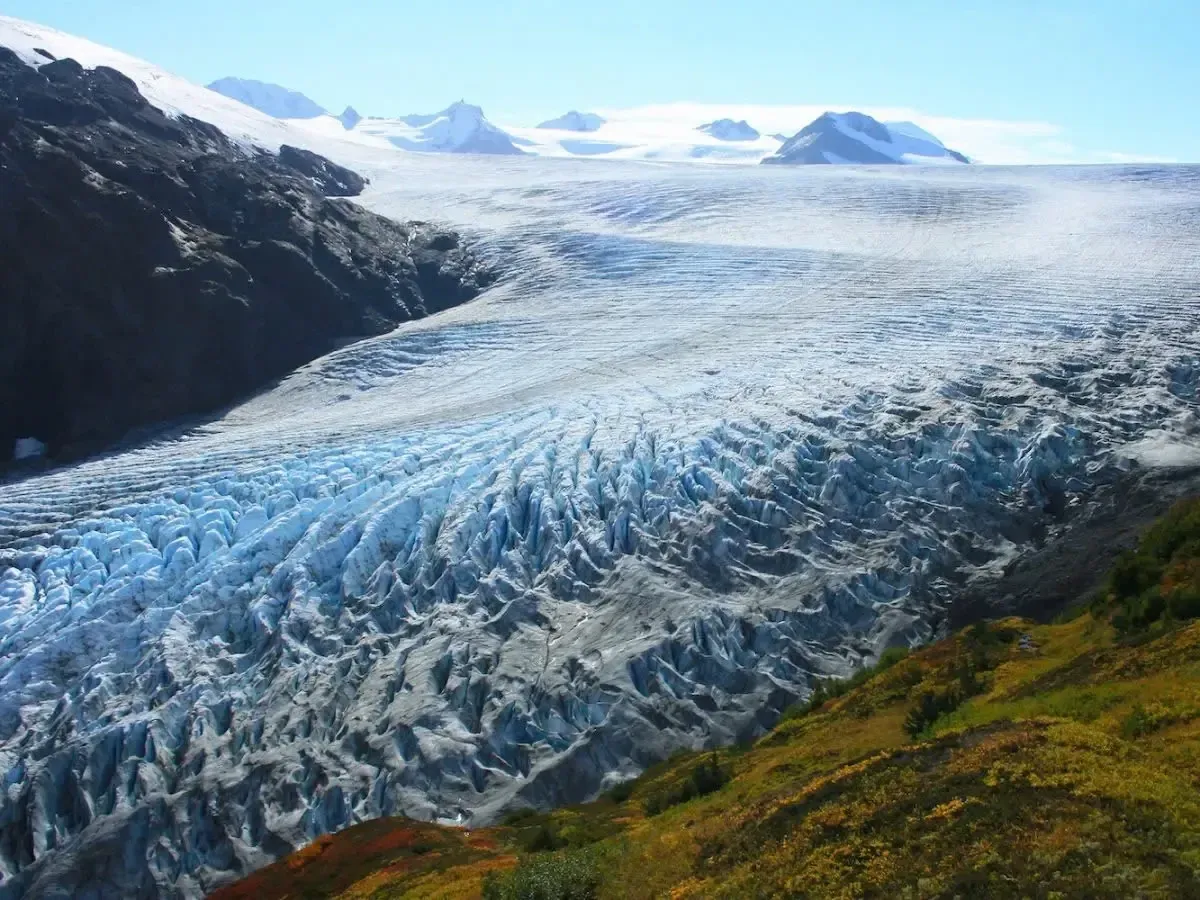
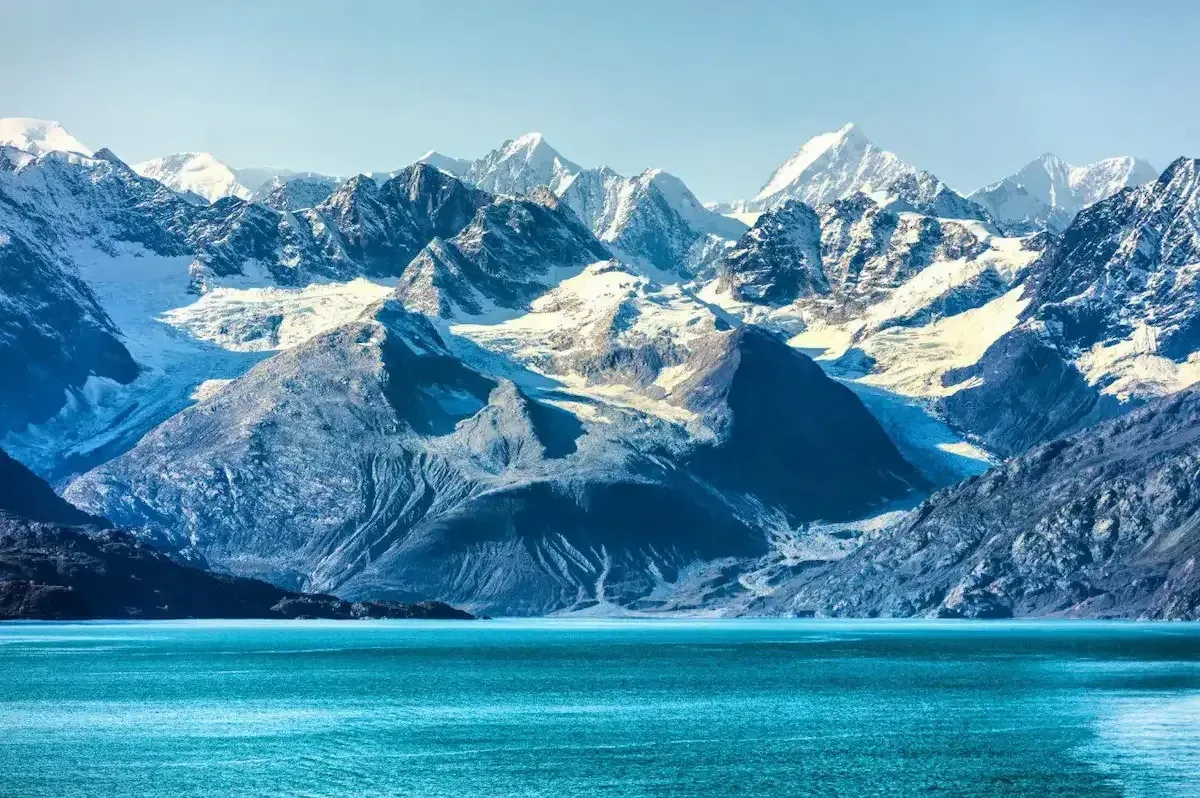
- Diverse Natural Landscapes: Beyond the aurora, Alaska boasts stunning natural landscapes such as majestic mountains, grand glaciers, and sprawling pine forests, providing a unique backdrop for your aurora photos.
2. The Best Time to “Hunt” the Aurora Borealis in Alaska
Choosing the right travel time is crucial to having the best chance of viewing and photographing stunning auroras. Winter, from September to April, is considered aurora season in Alaska, offering several advantages:
- Long Nights: During winter, Alaska experiences extended nighttime, especially in December, January, and February, when darkness almost persists 24/7, increasing the chances of observing auroras.
- Dark Skies: To see auroras clearly, dark, light-pollution-free skies are necessary. Alaska’s winter perfectly accommodates this requirement.
- Stable Weather: Despite the cold, Alaska’s winter is often stable, with minimal rain and moderate snowfall, allowing easy outdoor travel and photography.
However, the ideal time for aurora photography is typically from December to March, when the nights are longest, and aurora activity peaks. Additionally, monitor the aurora forecast before you go to enhance your success chances. Aurora forecast apps and websites will provide information about the KP index (a measure of aurora strength) and the potential timing of auroral displays.
3. Preparing Luggage and Professional Photography Equipment
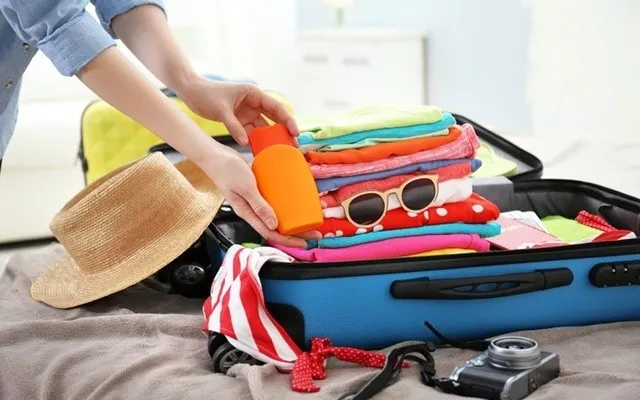
Capturing the Aurora Borealis in Alaska requires thorough preparation of both personal luggage and photography equipment.
Personal Luggage:
- Warm Clothing: Winter temperatures in Alaska can drop significantly, even below -30°C. Ensure you have layered clothing, including thermal wear, thick jumpers, windproof and waterproof coats, thermal trousers, thick pants, wool socks, beanies, scarves, and warm gloves.
- Anti-Slip Footwear: Opt for specialized snow shoes that are water-resistant, warm, and have anti-slip soles to ensure safe movement on ice and snow.
- Warming Accessories: Items like heat packs, a thermos, and backup chargers (phone and camera batteries tend to deplete quickly in cold weather) are essential.
Photography Equipment:
- Camera: A DSLR or mirrorless camera with a good low-light shooting capability and high ISO settings.
- Wide-Angle Lens: Lenses with focal lengths from 14mm to 24mm and large apertures (f/2.8 or larger) are ideal for covering the full extent of the aurora and the night sky.
- Tripod: A sturdy tripod is essential for long exposure shoots in low-light conditions.
- Remote Control or Cable Release: These help minimize camera shake during long exposures.
- Backup Batteries: Cold weather drains camera batteries quickly, so bring at least 2-3 fully charged spares.
- Flashlight or Headlamp: Useful for adjusting camera settings in the dark.
- Memory Cards: Ensure you have enough high-capacity memory cards to shoot freely.
- Waterproof Camera Bag: Protects your equipment from snow and moisture.
4. Camera Settings for Aurora Borealis Photography
To successfully photograph the Aurora Borealis, mastering basic camera settings is essential:
- Shooting Mode: Switch to Manual (M) mode to have full control over the settings.
- Aperture: Use the widest aperture available (f/2.8, f/2, f/1.8, or even wider, if possible) to capture the most light.
- Shutter Speed: Typically ranges from 5 to 30 seconds, depending on the aurora’s brightness and the effect you wish to achieve. A brighter and faster-moving aurora requires a faster shutter speed.
- ISO: Adjust according to the aurora’s brightness and your chosen aperture and shutter speed. Start with ISO 1600 or 3200, increasing if shots are too dark, but aim to keep ISO as low as possible to minimize noise.
- Focus: Switch to Manual Focus (MF) and focus to infinity (∞). Utilize Live View mode and zoom in to ensure stars are sharp.
- White Balance: Select “Tungsten” or “Fluorescent” settings to accurately and vividly render the aurora’s colors.
- Image Format: Shoot in RAW format for the best post-processing flexibility.
- Image Stabilization: Turn off the image stabilization on the lens and camera body when using a tripod to prevent blurring.
- Noise Reduction: Disable in-camera noise reduction for long exposures as it can reduce detail; apply noise reduction during post-processing instead.
5. Tips for Photographing the Northern Lights Like a Pro
Beyond equipment preparation and camera settings, the following tips will enhance your aurora photography skills:
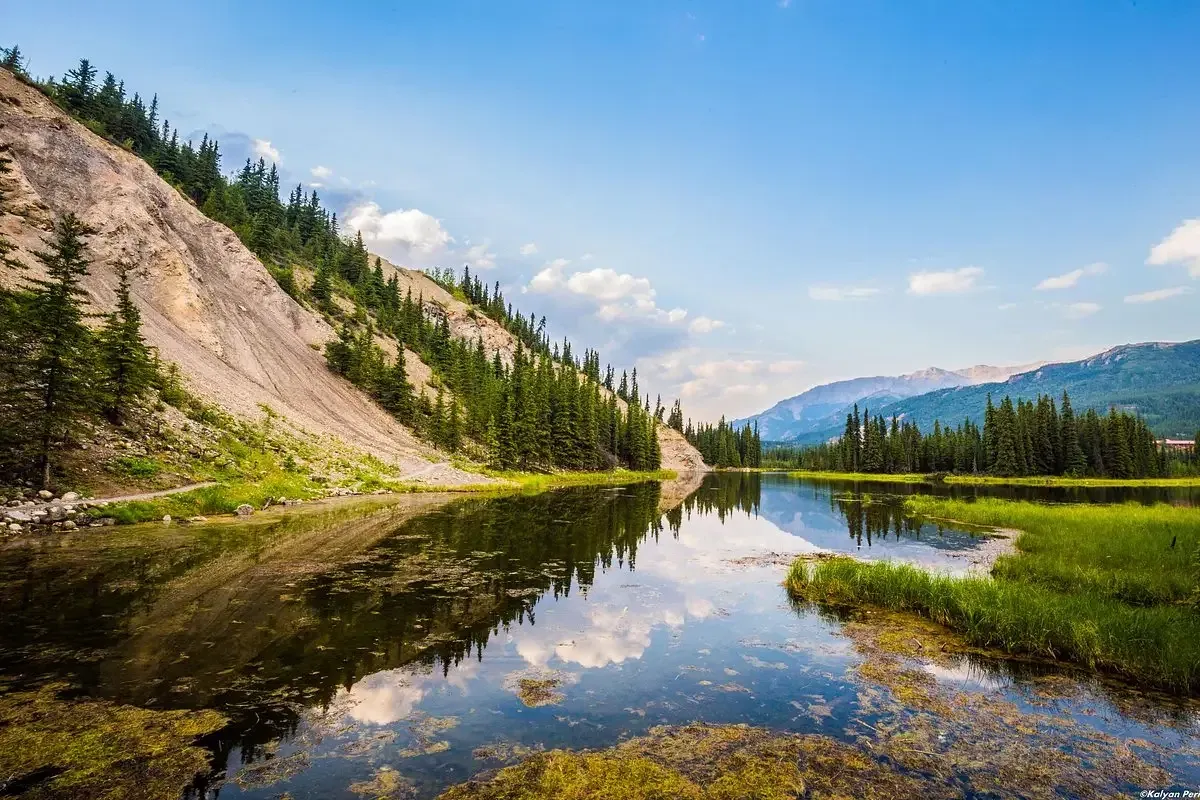
- Seek Dark Locations: Avoid street and urban lights to enjoy the darkest skies. Suburban, mountainous, or national park areas are ideal choices.
- Be Patient: The aurora is an elusive phenomenon that can appear suddenly and disappear just as quickly. Be patient and have your camera ready.
- Creative Composition: In addition to auroras, look for interesting foreground elements like mountains, trees, lakes, or buildings to add depth and storytelling to your photos.
- Shoot Continuously: Capture multiple shots with varying settings to increase your chances of getting the best possible image.
- Post-Processing: Editing is crucial to making your aurora photos more dazzling and impressive. Adjust brightness, contrast, color, reduce noise, and enhance sharpness.
- Join Aurora Photography Tours: For beginners or those seeking a more professional experience, consider joining aurora photography tours. Experienced guides will take you to prime locations, offer photography technique advice, and share effective aurora hunting tips.
6. Prime Locations for Aurora Borealis Photography in Alaska
Alaska boasts numerous excellent locations for aurora viewing and photography. Here are some recommendations:
- Fairbanks: Known as the “aurora capital” of the world, Fairbanks is the most popular destination for aurora hunting in Alaska with numerous resorts, aurora observation centers, and professional tours.
- Denali National Park: With its pristine beauty and dark skies, Denali is ideal for capturing auroras alongside majestic mountain scenery.
- Chena Hot Springs Resort: Just a 90-minute drive from Fairbanks, this famous hot springs resort is perfect for relaxing in warm waters while watching the aurora.
- Talkeetna: This charming town at Denali’s foot offers a serene environment and clear skies for aurora hunting.
- Wiseman: This small village deep in the Arctic, about a six-hour drive from Fairbanks, is one of Alaska’s least light-polluted areas, ideal for aurora viewing and photography.
7. Important Considerations for Photographing the Aurora Borealis
- Safety First: Winter weather in Alaska is extreme; always keep warm, move carefully on ice and snow, and inform others of your whereabouts and return time.
- Respect Nature: Avoid littering, making loud noises, or disturbing the natural environment.
- Seek Permission for Local Portraits: If photographing local people, ask for their permission first and respect their culture and customs.
- Check Weather and Aurora Forecasts Regularly: Weather and auroral activities can change quickly; stay updated frequently to plan accordingly.
Conclusion
Photographing the Aurora Borealis in Alaska is both a challenging and immensely rewarding journey. With thorough preparation in knowledge, skills, and equipment, coupled with a bit of luck, you can capture stunning, unique aurora images to enrich your travel photo collection. Remember, beyond the photos, witnessing the aurora’s miraculous beauty firsthand in the Alaskan sky is a memorable experience of a lifetime. Wishing you a successful and unforgettable aurora photo-hunting trip!